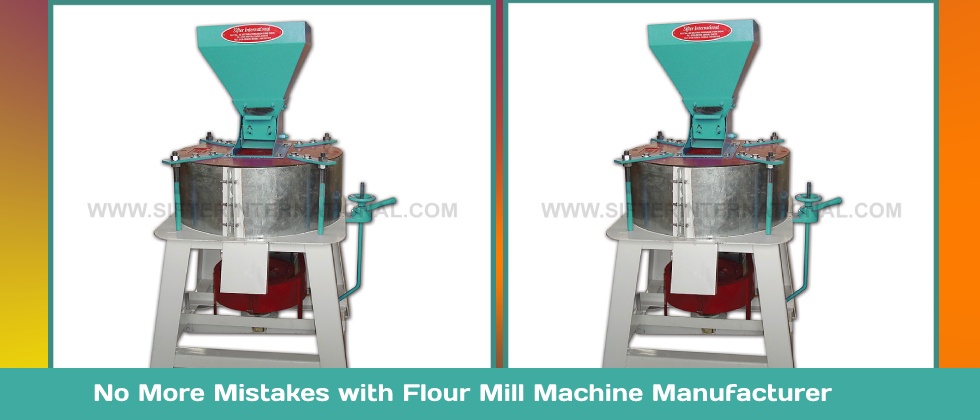
No More Mistakes with Flour Mill Machine Manufacturer
Mar 11 2023
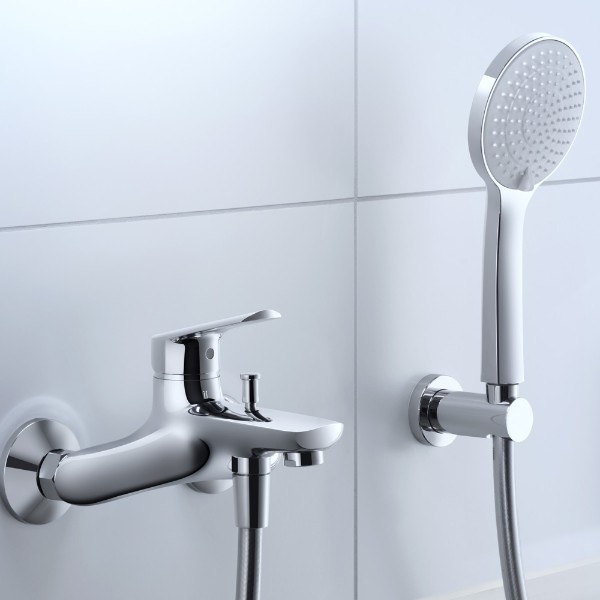
Nothing is more annoying than a leaky shower tap. Aside from wasting water, which increases your utility bills, a leaking tap can cause water damage to your bathroom and even lead to mold and mildew growth if left unchecked. Fortunately, understanding why your shower taps are leaking and learning how to fix them can save you both time and money. Let’s take a deeper dive into the causes of leaking shower taps and how you can quickly and efficiently fix them.
Worn-out Washers or O-rings
The most common reason for a leaking shower tap is worn-out washers or O-rings. These small rubber or silicone seals prevent water from escaping the faucet. Over time, they can become brittle or corroded due to constant exposure to water, heat, and chemicals in cleaning products. When they wear down, water can seep out around the base of the faucet or handle.
Corroded or Damaged Valve Seat
A valve seat connects the faucet to the spout and plays an essential role in regulating the water flow. Over time, mineral deposits from hard water can build up around the valve seat, causing corrosion or damage. When this happens, it can create small gaps or cracks that allow water to leak from the faucet even when it’s turned off.
Loose Faucet Handle or Cartridge
Sometimes, the leak isn’t due to internal components like washers or valve seats. A loose or faulty faucet handle or cartridge can lead to water dripping or streaming out of the showerhead or faucet. This is often the case if you notice that the water flow is inconsistent or can’t be fully turned off.
High Water Pressure
Excessive water pressure can cause a variety of plumbing problems, including leaks. When the pressure in your plumbing system is too high, it can cause taps and fixtures to wear out more quickly, leading to leaks. If your shower tap is leaking and you've ruled out worn components, checking your water pressure might be the next logical step.
Sediment Build-up
Sediment or mineral build-up from hard water can clog or obstruct components inside your shower faucet. This can cause an imbalance in the water flow, leading to leaks or irregular water pressure. If you notice your showerhead isn't working properly or the water flow is inconsistent, sediment might be the culprit.
While fixing a leaky shower tap might seem like a daunting task, it’s often a simple repair that you can complete yourself with a few basic tools. Here’s a step-by-step guide to help you resolve the issue:
Before attempting any repair, always make sure to turn off the water supply to your shower. This is usually done by locating the shut-off valve in your bathroom or the main water supply valve for your home. Test the tap to ensure there’s no remaining water flow.
For most shower taps, you’ll need to remove the handle or knobs. Use a screwdriver to unscrew any visible screws. In some cases, you might need to remove decorative covers or trim pieces. Be careful not to damage any of the components while removing them.
Once you’ve removed the handle and the outer components, you’ll gain access to the internal parts of the faucet. Look for any worn-out washers, O-rings, or seals. These parts can often be replaced with a standard faucet repair kit that you can purchase from most hardware stores.
If the valve seat is corroded, you may need a valve seat wrench to remove it and replace it with a new one. If the faucet cartridge is loose or damaged, replace it with a new one to stop the leak.
If you see any mineral build-up around the faucet components, you can clean them using a solution of equal parts vinegar and water. Let the solution sit for about 30 minutes before scrubbing away the deposits with a soft brush. This will help to restore the faucet’s performance and prevent future leaks.
Once you’ve replaced the faulty parts and cleaned the components, it’s time to reassemble the faucet. Start by putting the handle or knobs back into place, securing them tightly. Turn the water supply back on and check for leaks. If the leak persists, you may need to go back and double-check your work, ensuring that everything is tightly fitted and properly sealed.
While many shower tap leaks can be fixed with a DIY approach, there are cases when it’s better to call a professional plumber. If the leak persists after replacing washers, O-rings, or cartridges, or if you suspect there may be issues with the plumbing behind the wall, it’s time to seek professional help. Additionally, if you notice signs of water damage around your shower or bathroom, you should contact a plumber immediately to avoid further damage.
Leaking shower taps are a common but manageable plumbing issue. By understanding the causes of the leak and taking quick action, you can prevent wasting water, reduce your water bills, and keep your bathroom in top shape. Remember to inspect your taps regularly, replace worn parts when necessary, and keep an eye on water pressure and sediment buildup to avoid leaks in the future. With a little know-how, you’ll be able to fix most leaks in no time!

Social Media Marketing Strategies for Beginners
Mar 14 2023


(0) Comments