No More Mistakes with Flour Mill Machine Manufacturer
Mar 11 2023
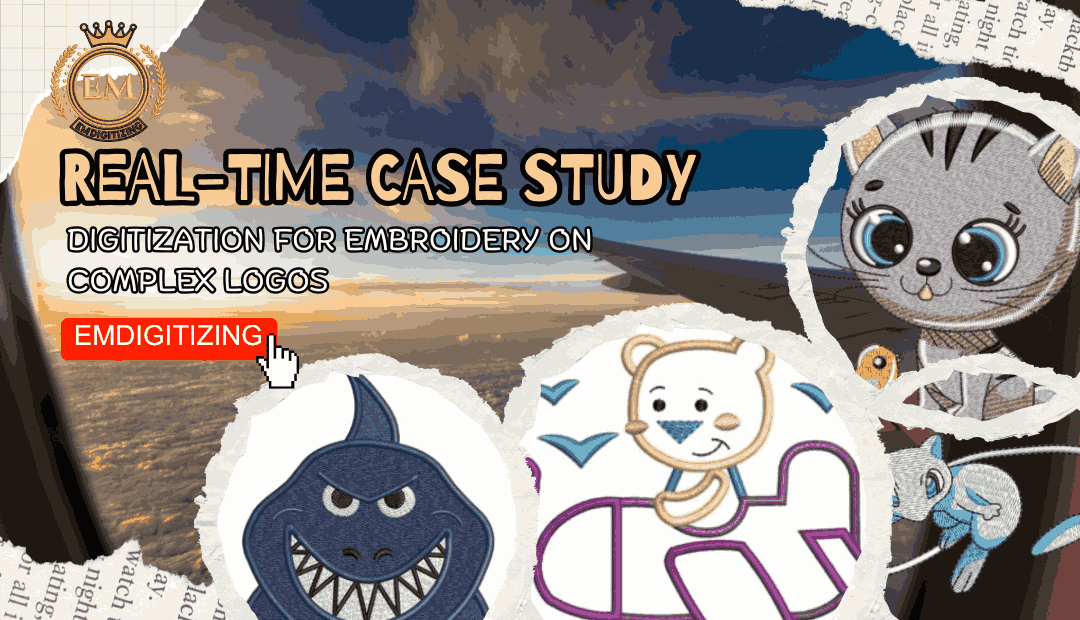
A Digitization for embroidery is a critical step that converts artwork into a stitch file interpretable by embroidery machines. While digitizing simple text or shapes can be straightforward, the real test lies in handling complex logos that involve gradients, intricate details, and multiple color transitions.
In this real-time case study, we take you through the step-by-step digitization journey of a detailed corporate logo, uncovering the challenges faced and the techniques used to ensure the design was machine-ready and aesthetically accurate.
A growing tech company approached our digitizing team with a detailed logo that included:
Small text elements
Gradient effects
6+ thread colors
Fine lines and overlapping shapes
A circular, patch-style structure
Their goal was to embroider this logo on polos, caps, and tote bags for an upcoming tech event. This required scalable, crisp, and consistent results across different fabrics.
Detail Density: The finer the details, the harder they are to replicate with stitches.
Text Legibility: Tiny fonts often get distorted during embroidery.
Color Transitions: Gradients and blends are not native to thread work.
Stitch Limits: Embroidery machines have a threshold for minimum stitch length and angle variations.
The original design was too detailed for embroidery at small sizes. Our team recommended:
Slight enlargement of the smallest text
Flattening the gradient into layered stitch shades
Simplifying overlapping outlines
Using vector editing software (Adobe Illustrator), we:
Cleaned and smoothed linework
Created solid fills instead of gradient fills
Aligned symmetrical elements
Separated colors for layering during stitching
Clean vector art allows the digitizing software to interpret stitch paths accurately. Any rough or pixelated artwork creates complications in stitch calculation.
Digitization is not just about tracing lines—it’s about choosing the right stitch type for each part.
| Logo Element | Stitch Type | Reason |
|---|---|---|
| Border Circle | Satin Stitch | Creates a clean, raised edge |
| Center Text | Run Stitch + Fill | Ensures readability in small fonts |
| Gradient Area | Blend Fill Stitch | Simulates gradient using density techniques |
| Icon Symbol | Tatami Fill | Covers larger areas smoothly |
Each stitch was carefully calculated in terms of density, angle, underlay, and pull compensation to minimize distortion.
We tested the DST file on:
Cotton Polo Fabric
Polyester Caps
Canvas Tote Bags
Cotton Polos: Handled the logo well; slight puckering in thinner outlines.
Caps: Required density reduction and stronger underlay to avoid thread breakage.
Tote Bags: Needed increased stitch tension for thicker material.
Adjusted push-pull compensation
Increased underlay for caps
Tightened density settings for canvas
Praised the accuracy of the logo elements
Impressed with how well the gradient simulation looked
Requested a 3-inch variation for sleeve embroidery
Multiple DST formats for various machines
Scaled versions (6”, 3”, and 2”)
Stitch count: 13,800 – optimized for run time and material
Raster images are problematic. Converting the logo into clean vector format upfront saves hours of digitizing and testing.
Each fabric reacts differently to stitch density and thread tension. Testing across all intended applications is vital.
Tools like Wilcom, Pulse, or Hatch offer real-time simulations that allow for early error correction.
Get alignment on which details are essential and which can be adjusted for embroidery compatibility.
Providing different sizes for various apparel placements saves time and boosts client satisfaction.
Digitizing isn’t just about converting images. It’s an art and science that demands precision, software skill, and a strong understanding of stitching behavior. When done right, even the most complex logos can be faithfully reproduced.
Higher stitch efficiency
Machine compatibility
Reduced thread breakage
Better fabric adaptability
Accurate brand representation
This case study proves how digitization for embroidery plays a vital role in brand identity, particularly when complex logos are involved. With expert digitizing techniques, even the most detailed artwork can be transformed into stunning embroidered results across various products.
For brands looking to elevate their merchandise, choosing the right digitizing service is the difference between mediocre stitching and professional-quality embroidery.
Not always. Some logos need minor modifications for clarity, especially when reducing size or translating gradients.
Typically, 4–6 hours depending on complexity, testing needs, and revisions.
DST, PES, EXP, JEF, and other machine-specific files. Preview PDFs are also shared.
Most commercial embroidery machines handle up to 100,000 stitches, but optimal stitch count for wearables ranges between 10,000 to 20,000.

Social Media Marketing Strategies for Beginners
Mar 14 2023
.jpeg)


(0) Comments